How To Use PowerSwitch
Once Set up with the correct Configuration Options, after the brief initial setup, power switch will pretty much be hands free
Initial Set up
Visit your power switch instance url
(usually http://localhost:8080)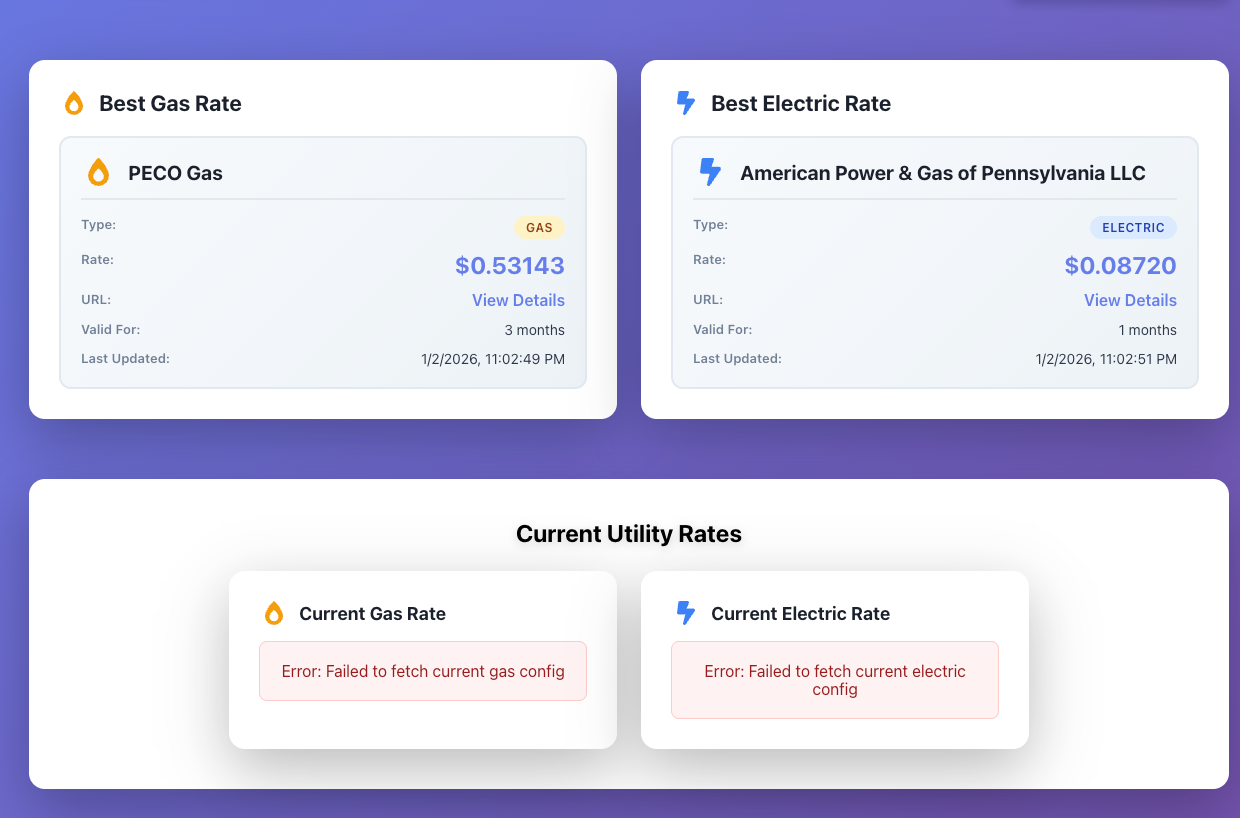
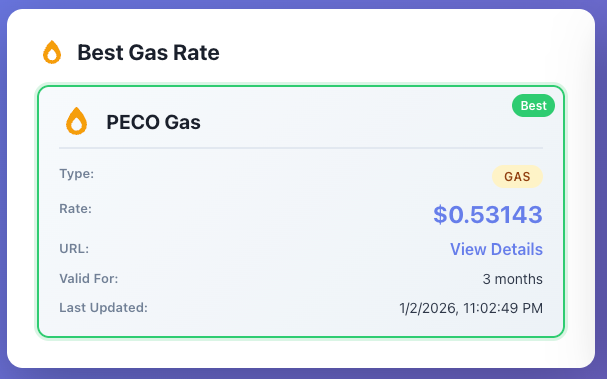
At first start up, you will see 'Best' Gas and Electric rates, but no current utility Rate (because you have not set them yet)
Note: Depending on how slow your internet connection is, it may take a minute or two for the rates to populate
Create a new Current Utility Record
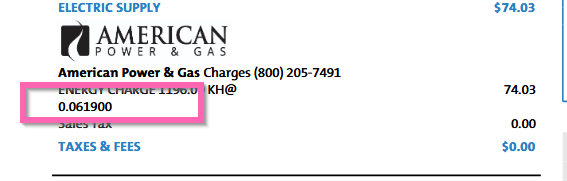
Most likely you will already have an existing utility provider. You will need to create a new record for your current utility rates to compare against the lowest rates found by PowerSwitch You can find your current provider rate by visiting your distributor website and looking at your bill details.I.e for PECO, it can be found here:
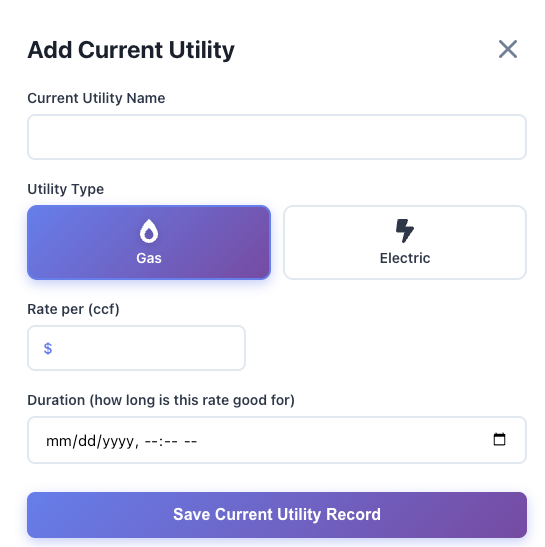
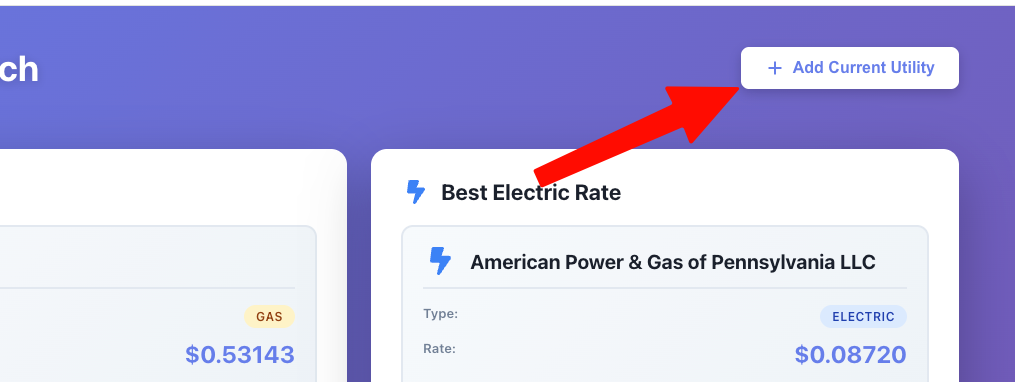
- Click on Add Current Utility
- Fill out the form with the following fields:
- Utility Name
- Utility Type (Gas or Electric)
- Utility Rate
- Duration (in months) - optional
After the form is submitted, you will see your new utility rate added to the list of current utilities. In addition, you can now automatically compare your current utility rates against the lowest rates found by PowerSwitch.
Better Rate Found
If a better rate than your current utility is found, you will receive an email with the details.
In addition, the frontend will display a "better rate" icon on the utility rate card
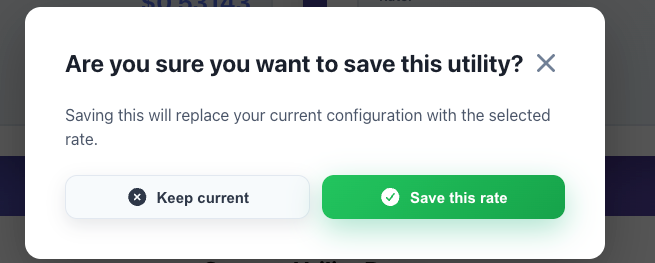
Save Better Rate from rate card
Clicking on the Best Rate Card will save the rate as your current utility rate. This will update the rate card to show the new rate and remove the "better rate" icon.